
 English
 русский
 简体中文
简体中文


Home / News / Industry News / How to Install Aluminum Caps
How to Install Aluminum Caps
2026.08.07
Content
- 1 Preparing the Surface Before Installation
- 2 Matching Installation Method to Cap Type
- 3 Aligning and Fitting the Cap Correctly
- 4 Using Adhesive for a Secure Bond
- 5 Crimping and Mechanical Fastening Techniques
- 6 Sealing Against Moisture and Weather Exposure
- 7 Common Installation Mistakes to Avoid
- 8 When to Choose Professional Installation
Aluminum caps are installed by preparing a clean, properly sized surface, aligning the cap over the opening or post, and securing it using the correct combination of adhesive, crimping, or fasteners depending on the cap type and application. Getting a secure, long-lasting fit depends less on the tools used and more on matching the installation method to the specific cap design, since post caps, pipe caps, and container lids each require slightly different techniques. Installers who follow proper surface preparation and alignment steps typically avoid the two most common failure points, loose fitment and premature seal failure, both of which account for the majority of aluminum cap installation issues reported across general metal fabrication and packaging applications.
Preparing the Surface Before Installation
Proper surface preparation is the foundation of a secure aluminum cap installation, regardless of whether the cap is being fitted onto a post, pipe, tube, or container opening. Skipping this step is one of the most common causes of loose or misaligned caps.
Key Preparation Steps
- Clean the surface thoroughly to remove dust, oil, or residue that could interfere with adhesive bonding
- Inspect the opening or post edge for burrs, dents, or irregularities that could prevent a flush fit
- Measure the diameter or dimensions to confirm the cap size matches the surface precisely
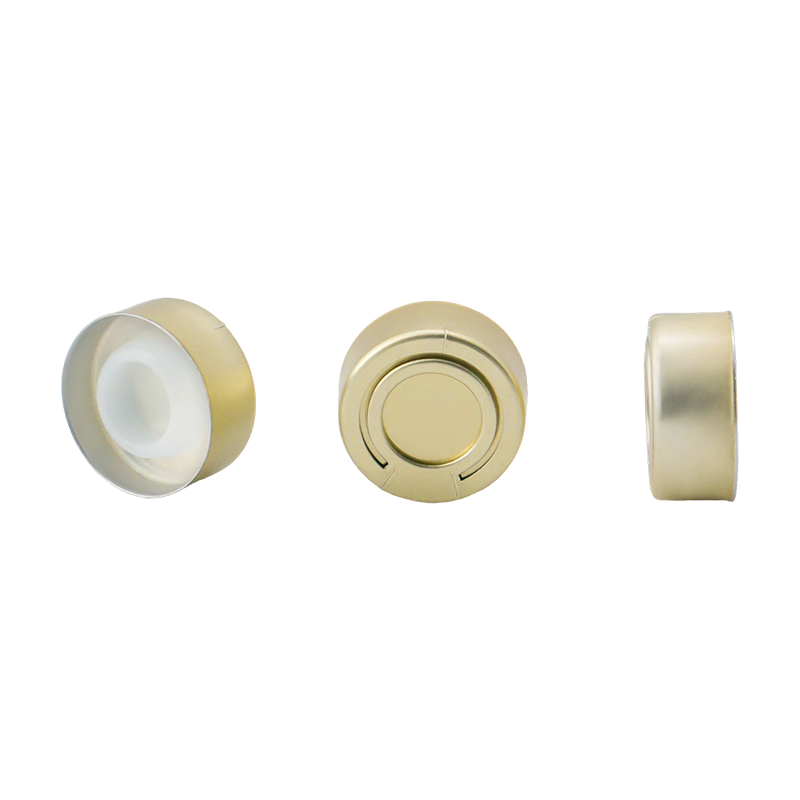
Choosing correctly sized Aluminum Caps before installation begins is essential, since even a well-prepared surface cannot compensate for a cap that is too large or too small for the intended fit.
Matching Installation Method to Cap Type
Not all aluminum caps are installed the same way, and choosing the correct method for the specific cap design significantly affects both fit quality and long-term durability.
Common Installation Methods
| Cap Type | Typical Installation Method |
| Post or fence caps | Friction fit or adhesive bonding |
| Pipe end caps | Crimping or mechanical clamping |
| Container or bottle caps | Threading or press-seal application |
Using the wrong method for a given cap style, such as relying on adhesive alone for a cap designed to be crimped, often results in a weaker connection than the design was engineered to achieve.
Aligning and Fitting the Cap Correctly
Proper alignment during installation prevents the uneven stress that can lead to premature loosening or seal failure over time. This step matters just as much for decorative applications as it does for functional, weather-exposed installations.
Steps for Accurate Alignment
- Position the cap squarely over the opening before applying any pressure or adhesive
- Check for even contact around the entire edge before securing the cap in place
- Apply gentle, even pressure rather than forcing one side into place first
Rushing the alignment step is a common mistake, particularly with friction-fit caps, since forcing an uneven cap into place can create small gaps that later allow moisture intrusion or gradual loosening under vibration.
Using Adhesive for a Secure Bond
For applications where the aluminum cap is bonded rather than mechanically fastened, selecting and applying the correct adhesive plays a major role in how long the installation holds up under environmental exposure.
Choosing the Right Adhesive Type
Weather-rated construction adhesives or specialized metal bonding adhesives are generally recommended for outdoor applications, since standard adhesives may degrade faster under UV exposure or temperature fluctuations, leading to premature bond failure.
Application Technique
Applying adhesive in a thin, even bead around the contact edge rather than a single thick blob helps achieve consistent bonding across the entire cap surface, reducing the risk of localized weak points where the bond could separate first.
Crimping and Mechanical Fastening Techniques
For pipe caps and other applications requiring a mechanically secured fit, crimping or fastening provides a more permanent connection than adhesive alone, particularly in high-vibration or structural applications.
Proper Crimping Practices
When crimping is used, applying even pressure around the full circumference prevents the uneven deformation that can weaken the cap's structural seal at specific points rather than distributing stress evenly across the connection.
Fastener Selection for Screw-Mounted Caps
For caps secured with screws or rivets, selecting fasteners rated for outdoor or corrosive environments helps prevent the fastener itself from becoming a point of failure before the cap material reaches the end of its expected service life.
Sealing Against Moisture and Weather Exposure
For outdoor installations, sealing the cap edge properly is essential to prevent water infiltration, which can lead to corrosion of underlying materials even when the aluminum cap itself resists rust effectively.
Sealing Best Practices
- Use a flexible, weather-rated sealant rather than rigid caulking around the cap edge
- Apply sealant after the cap is fully seated and aligned, not before
- Inspect and reapply sealant periodically, particularly in high-exposure coastal or freeze-thaw climates
Proper sealing extends the effective lifespan of installed Aluminum Caps significantly, since moisture infiltration behind an otherwise well-fitted cap is one of the more common causes of long-term installation failure.
Common Installation Mistakes to Avoid
Even straightforward aluminum cap installations can run into avoidable problems when certain details are overlooked during the process.
Skipping Size Verification
Installing a cap that is slightly undersized or oversized for the opening often leads to a loose fit that worsens over time, particularly under repeated temperature expansion and contraction cycles.
Applying Excessive Force During Fitting
Forcing a friction-fit cap into place with excessive pressure can deform the cap edge, compromising both its appearance and its ability to create a proper seal against the surface.
Ignoring Surface Contamination
Installing a cap over a dirty or oily surface, particularly when adhesive bonding is involved, significantly weakens the bond strength and increases the likelihood of premature separation.
When to Choose Professional Installation
Small-scale residential projects, such as fence post caps or decorative trim caps, are generally manageable for most people with basic tools and careful attention to the preparation and alignment steps outlined above. Larger commercial installations, structural pipe capping, or projects requiring precise crimping across many units may benefit from professional installation to ensure consistent quality and compliance with any relevant industry standards for the specific application.
Related products
-
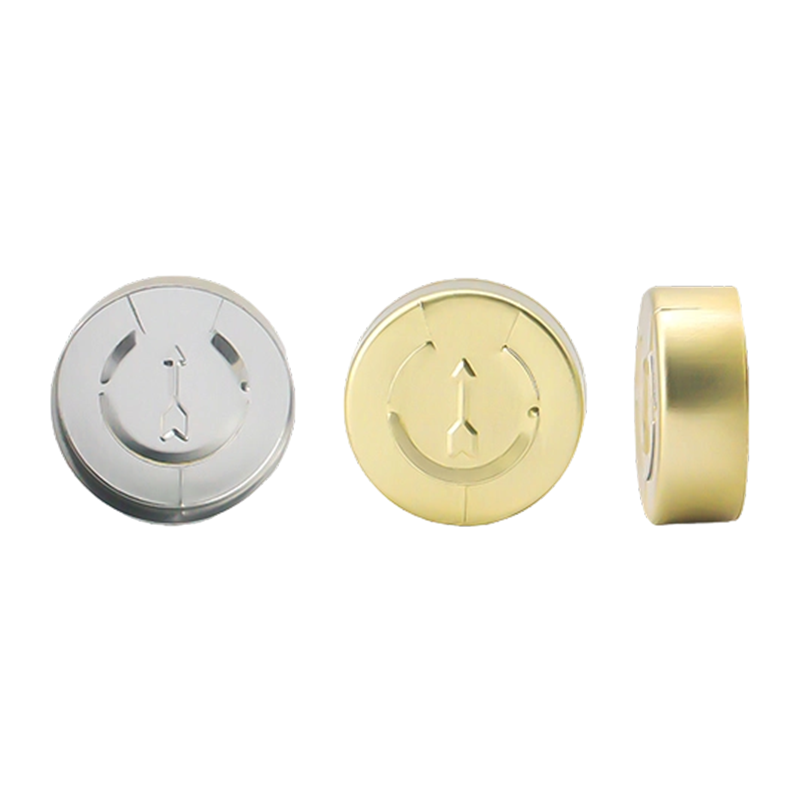
A tamper-evident aluminum seal for complete removal. It features a pre-scored tear-off line for easy opening: simply pull the tab to tear the entire cap off cleanly along the scored line, allowing for...
View More -
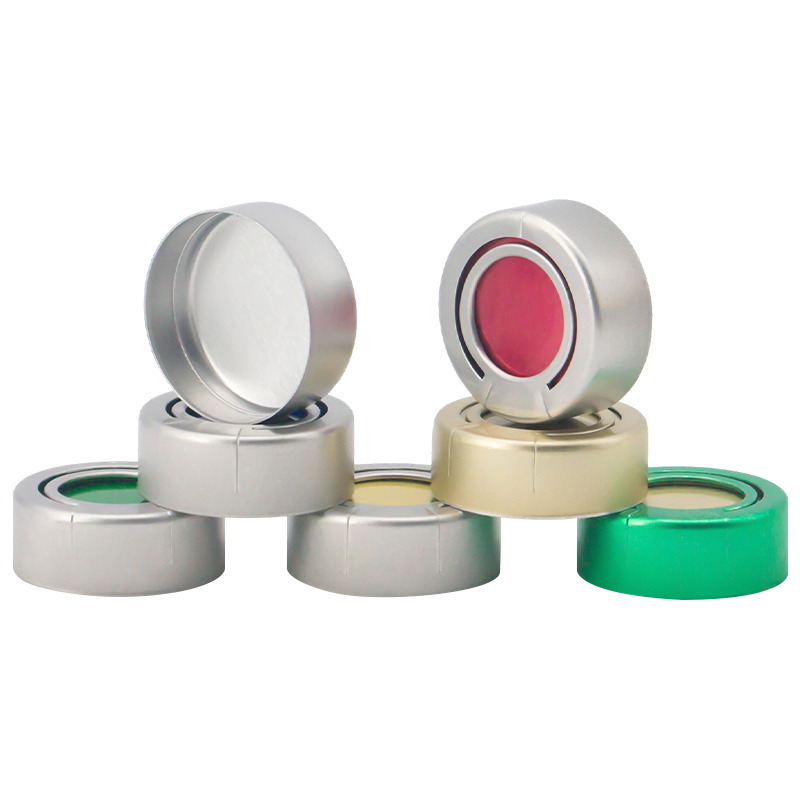
A tamper-evident aluminum seal designed for injection vials. It features an integrated pull-ring that, when pulled, removes the entire aluminum cap cleanly from the vial neck, leaving the rubber stopp...
View More -
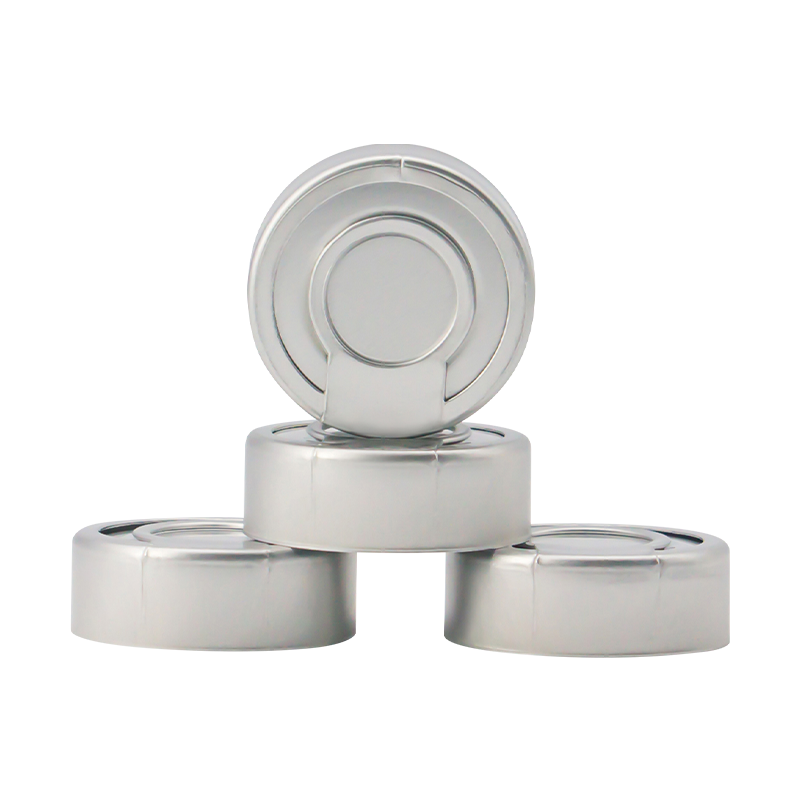
A practical aluminum seal for large-volume infusion bottles. It features an integrated pull-ring that allows the entire aluminum cap to be removed quickly and completely, providing full, unobstructed ...
View More -

A secure and user-friendly sealing solution for oral liquid bottles. Made from a single piece of aluminum with an integral pull-ring, it is designed for easy, one-step opening by completely removing t...
View More -
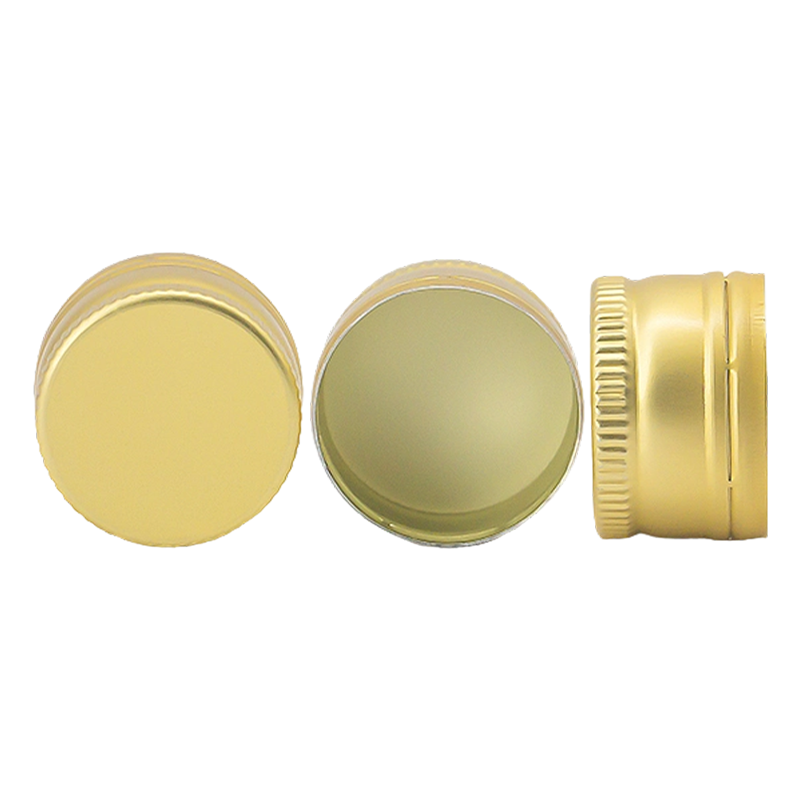
A cost-effective and durable sealing solution designed for oral liquid bottles. Made from a single piece of aluminum, it forms a secure thread by crimping onto the bottle neck, providing reliable tamp...
View More -
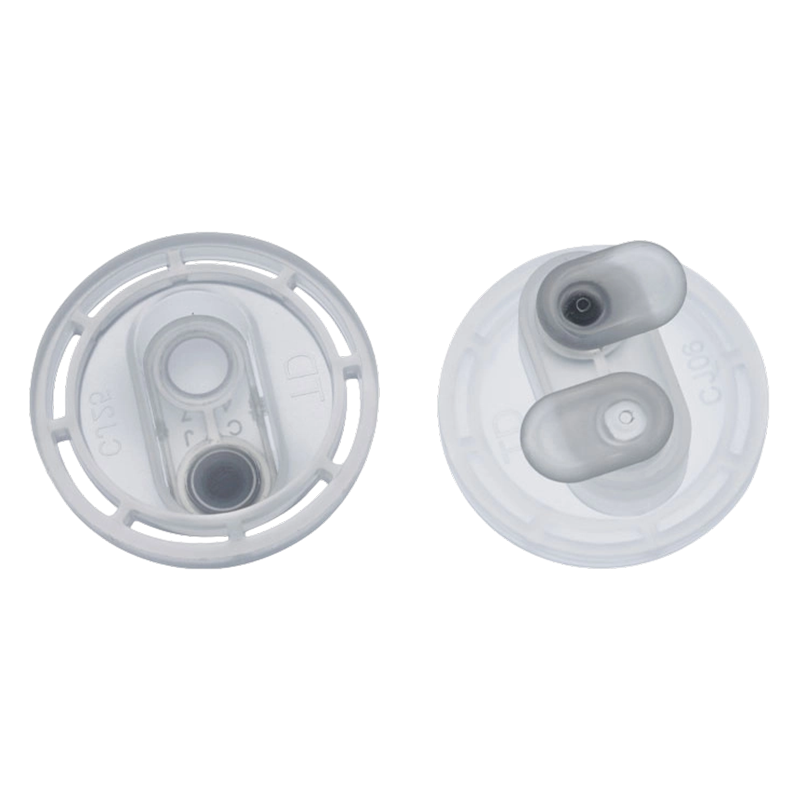
A standardized dual-port polypropylene cap designed for infusion and solution bottles. This integrated solution ensures reliable closure and provides two distinct, self-sealing access points for safe ...
View More
-
Get In Touch
 +86 511 8813 2922
 +86 139 5290 2286
 lilian@changjianglids.com
 No. 1 Mingzhu Road, Youfang Industrial Park, Yangzhong City, Zhenjiang, Jiangsu, China
The information provided on this website is intended for use only in countries and jurisdictions outside of the People's Republic of China.
No. 1 Mingzhu Road, Youfang Industrial Park, Yangzhong City, Zhenjiang, Jiangsu, China
The information provided on this website is intended for use only in countries and jurisdictions outside of the People's Republic of China. -
Product
Aluminum-Plastic Caps Aluminum Caps Euro PP Caps PP Containers for Contact Lens with Foil Seal Plastic Hanger for Infusion Bottle Plastic Jerry Can -
WhatsApp
Chris

-
WeChat
Lilian

Copyright © 2025 Jiangsu Changjiang Lids Co., Ltd. All Rights Reserved.
OEM Pharmaceutical Packaging Manufacturer
Pharmaceutical Cap Supplier
