
 English
 русский
 简体中文



Home / News / Industry News / Heat Induction Liners for Pharmaceutical Bottles: Selection and Sealing
Heat Induction Liners for Pharmaceutical Bottles: Selection and Sealing
2026.10.01
Content
- 1 What a Heat Induction Liner Is and What It Contains
- 2 How Heat Induction Sealing Works
- 3 Why Pharmaceutical Packaging Uses Heat Induction Liners
- 4 Selecting the Right Liner for Your Container and Cap
- 5 Common Failure Modes and How to Diagnose Them
- 6 Setting Up and Validating the Sealing Process
- 7 Supplier and Quality Checks
- 8 Key Takeaways for Heat Induction Liner Selection
A filled HDPE bottle leaves the filling line with a cap torqued to spec. It passes under an induction sealer, and seconds later the foil inside the cap should be bonded to the bottle lip. If the liner, cap, or sealer setting is wrong, the package may look fine but fail a leak test. A heat induction liner is therefore not a generic foil disc. It is part of a sealed system that includes the cap, container neck finish, induction sealer, and quality checks. This guide explains what the liner does, how to select it, where seals fail, and what to verify before production.
What a Heat Induction Liner Is and What It Contains
A heat induction liner is a multilayer seal that sits inside a cap. When the capped container passes through an induction field, the aluminum foil layer heats by eddy currents. The heat melts a polymer heat seal layer on the container side. Pressure from the cap holds the softened layer against the bottle lip; after cooling, the foil remains bonded to the container and forms a sealed membrane.
| Layer | Common material | Primary function | What to verify |
|---|---|---|---|
| Foil | Aluminum foil | Generates heat and provides moisture and oxygen barrier | Thickness, conductivity, pinholes, grade |
| Heat seal | Polymer coating or wax blend | Bonds to the container lip when heated | Compatibility with HDPE, PP, PET, glass; seal strength |
| Backing | Paperboard, foam, PET, pulp | Supports the liner in the cap and controls compression | Thickness, density, springback, cap fit |
How Heat Induction Sealing Works
Induction sealing is a non-contact process. The sealer coil creates an alternating electromagnetic field. The aluminum foil in the liner heats, and the heat seal layer melts. Cap torque and container top load provide pressure for bonding. After the container leaves the coil, the seal cools and strengthens.
Four variables control the result:
- Power: too low causes weak seals; too high burns liners or warps caps.
- Dwell time: line speed changes exposure time, so a recipe at 60 bottles per minute may fail at 120.
- Pressure and torque: low torque creates channels; excessive torque distorts the cap.
- Cooling: the bond must set before handling or labeling.
Establish settings with the actual container, cap, liner, product, and line speed. A setting copied from another bottle size is only a starting point.
Why Pharmaceutical Packaging Uses Heat Induction Liners
In regulated packaging, the liner supports several functions at once:
- Tamper evidence: a bonded foil seal shows the container has not been opened.
- Leak prevention: it lowers the risk of liquid escape during transport.
- Moisture and oxygen barrier: foil helps protect sensitive drugs.
- Contamination control: the membrane limits microbial ingress.
- Pilferage protection: a broken seal is visible.
These benefits matter for injection vials, infusion bottles, vaccine bottles, oral liquids, and diagnostic reagents. The liner does not replace a good cap or validated filling process, but it is critical to container closure integrity. For example, a vial closure system that uses aluminum plastic caps for vials must be reviewed as a complete unit, not as separate parts.
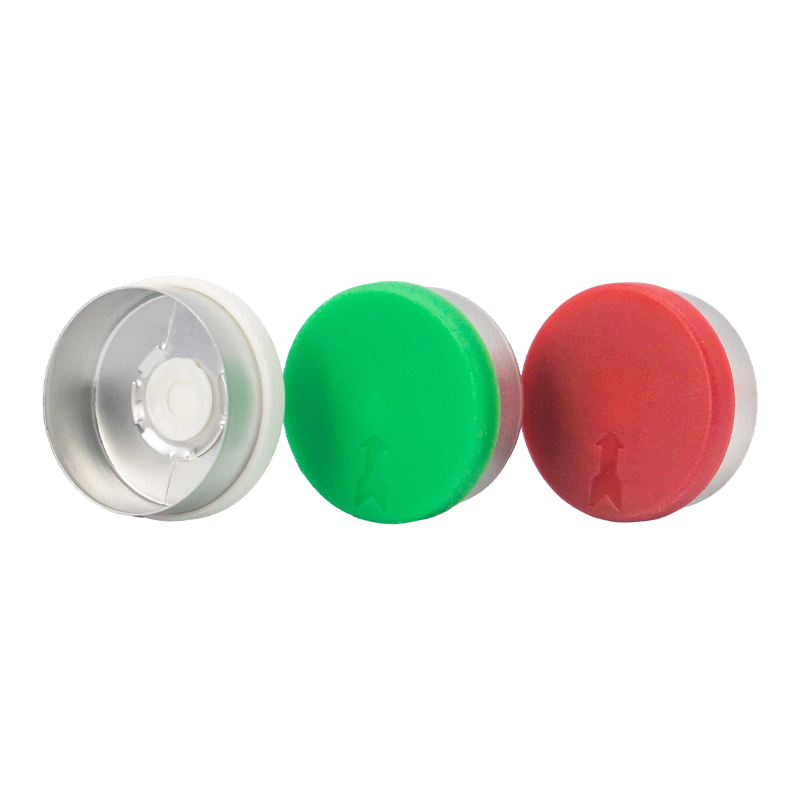 Wholesale Aluminum-Plastic Caps for Injection Vials and Vaccine BottlesA composite vial closure with an aluminum shell, plastic insert, and rubber stopper, designed to protect injectables. Manufactured in GMP cleanrooms with large-scale aluminum-plastic cap production.View Product →
Selecting the Right Liner for Your Container and Cap
Start with the container, not the liner catalog. The neck finish, material, and surface condition determine which heat seal layer will bond. A liner for HDPE may not seal reliably to PP, PET, glass, or a coated lip. Cap material, liner pocket depth, thread design, and torque also affect pressure at the seal.
Check these items before requesting samples:
- Container material and neck finish drawing, including diameter, thread, and lip flatness.
- Cap type and liner pocket dimensions.
- Fill temperature and whether the product is hot filled, retorted, or frozen.
- Sterilization method, such as ethylene oxide, gamma, or autoclave.
- Target line speed, sealer model, and power range.
- Required seal strength, leak rate, and barrier performance.
A foam backing may tolerate more cap variation; a paperboard backing may give a firmer seal. The wrong backing can fall out of the cap or stick after sealing. For infusion containers, Euro PP caps with pullring or twinport designs can be paired with compatible liners, but the seal window must be validated.
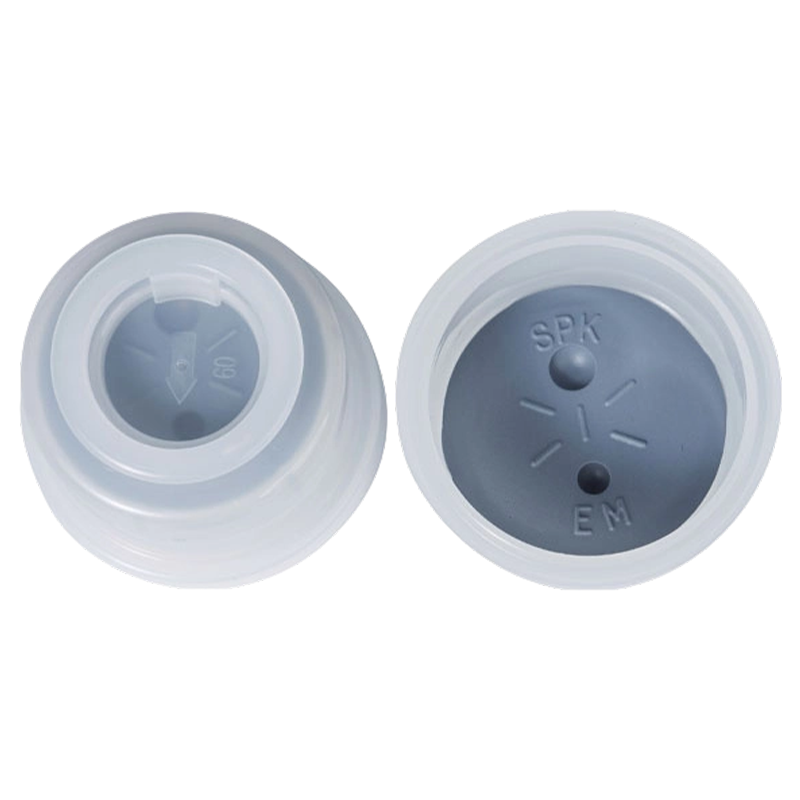 Pull-Ring Euro PP Caps for Infusion and Solution BottlesTamper-evident polypropylene caps with integrated pull-rings for tool-free access on infusion and solution bottles. Compatible liners and sealing parameters should be validated for the application.View Product →
Common Failure Modes and How to Diagnose Them
Most induction sealing defects come from a mismatch or drift, not a single bad liner. The table maps common symptoms to likely causes and first checks.
| Symptom | Likely cause | First checks |
|---|---|---|
| Weak or partial seal | Low power, short dwell time, low cap torque, or contaminated lip | Verify sealer output, line speed, cap torque, and lip condition |
| Foil stuck in cap | Overheating, wrong release layer, or excessive cap compression | Reduce power or dwell time; check liner construction and cap depth |
| Burned or discolored liner | Power too high, coil too close, or double pass through sealer | Measure coil gap; confirm containers pass once at correct speed |
| Leak after sealing | Channel under foil, oval neck, or damaged lip | Inspect neck finish, liner centering, and seal area with dye or vacuum test |
| Cap distortion | Excess heat or thin cap wall | Check cap resin, wall thickness, and cooling time |
Do not adjust power alone. Heat, time, pressure, and cooling interact. A change in cap supplier or liner lot can shift the window. Keep records of sealer settings, cap torque, liner lot, and test results so drift can be traced.
Setting Up and Validating the Sealing Process
Begin with a controlled trial using the production container, cap, liner, product, and line speed. Test low, medium, and high power and dwell time. Inspect the bond pattern for a uniform ring without burn marks or channels.
Validation should include:
- Seal peel or burst test.
- Dye penetration or vacuum decay leak test.
- Visual inspection for foil coverage, wrinkles, and cap damage.
- Torque test after sealing and simulated transport.
- Stability or shipping simulation when required.
During production, check sealer power, line speed, cap torque, and seal quality at defined intervals. Keep separate recipes for each bottle size.
Supplier and Quality Checks
The liner supplier should provide material specifications, heat seal layer data, migration or biocompatibility information where relevant, lot traceability, and recommended sealing windows. For pharmaceutical packaging, cleanroom manufacturing and a documented quality system reduce risk. ISO 9001 and GMP alignment are practical signals that the supplier understands regulated markets.
Jiangsu Changjiang Lids Co., Ltd. has manufactured pharmaceutical packaging since 2000 and operates a C+A cleanroom. Its range includes aluminum caps, aluminum plastic caps, Euro PP caps, and closures for injection vials, infusion bottles, and oral liquids. It states annual capacity of 3 billion aluminum and aluminum plastic caps and 800 million polypropylene caps, with GMP and ISO 9001 systems. Because the liner, cap, and bottle neck must work together, this cap manufacturing experience is relevant. You can request samples or a liner review to confirm fit before production.
Ask how liner lots are controlled and how changes in foil or film suppliers are managed. A new heat seal coating can alter sealing performance, even when the finished cap looks the same.
Key Takeaways for Heat Induction Liner Selection
- Treat the liner as part of a complete closure system with the cap, container, sealer, and process.
- Match the heat seal layer to the container material and sterilization method.
- Control power, dwell time, pressure, torque, and cooling as one window.
- Validate with leak and seal strength tests, then monitor production.
- Work with a supplier that documents materials, lot traceability, and cleanroom controls.
A heat induction liner looks simple, but it protects the product from the filling line to the patient. Define the requirement, test the real system, and keep the process under control.
Related products
-
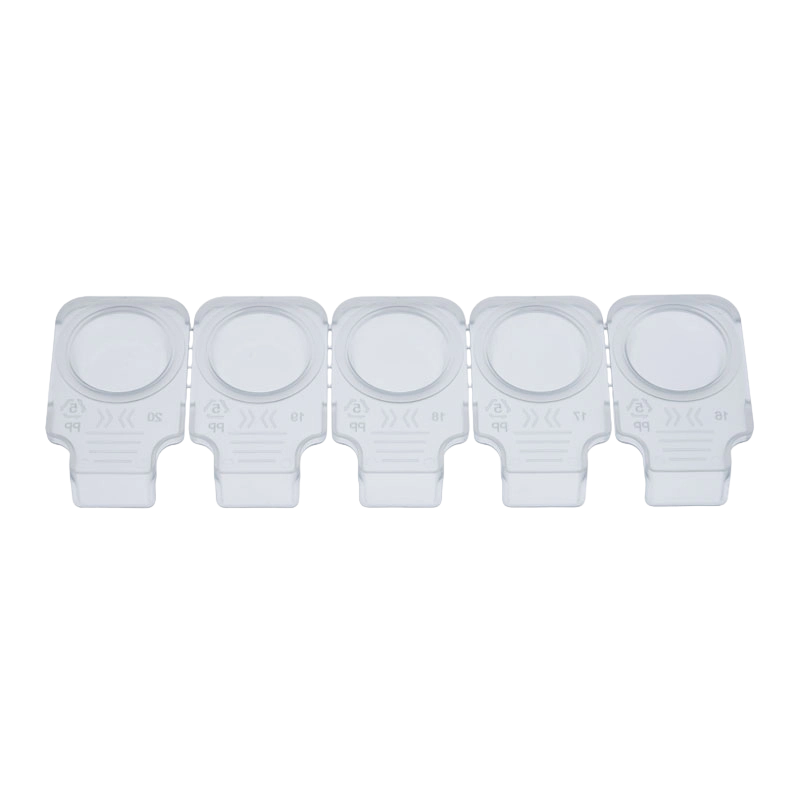
A protective and sterile packaging solution designed for contact lens storage. The polypropylene (PP) container with an integrated foil seal ensures product integrity, moisture retention, and contamin...
View More -
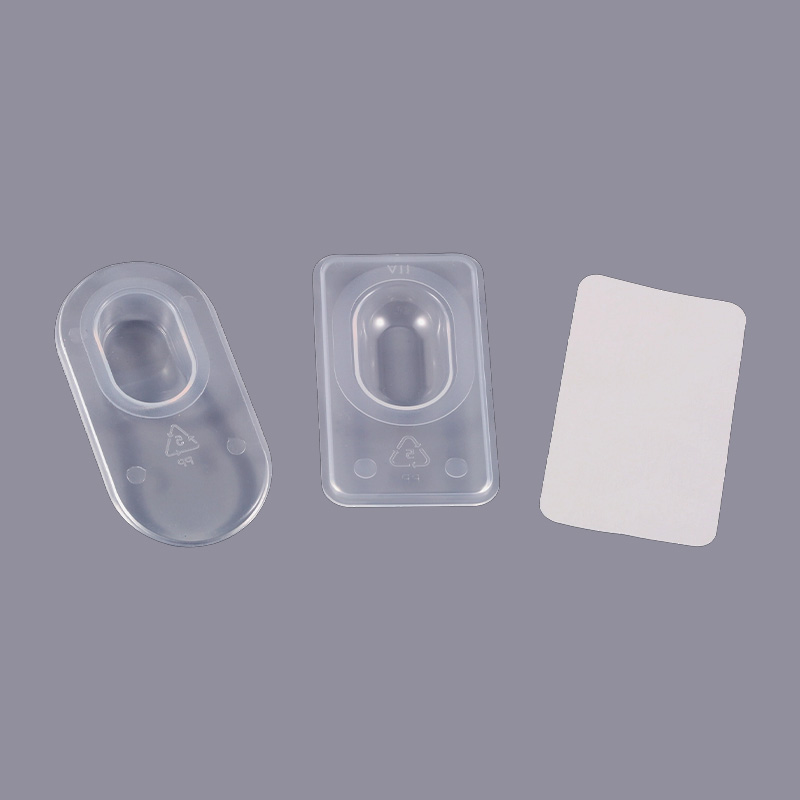
A protective and sterile packaging solution designed for contact lens storage. The polypropylene (PP) container with an integrated foil seal ensures product integrity, moisture retention, and contamin...
View More -

A secure and low-profile support solution designed to safely hold infusion containers in clinical and care settings. Its flat design ensures stable wall-mounted suspension and easy access for intraven...
View More -

A secure and ergonomic support solution designed to safely hold infusion containers in clinical and care settings. Its racket design with an integrated handle ensures stable, portable suspension and e...
View More -
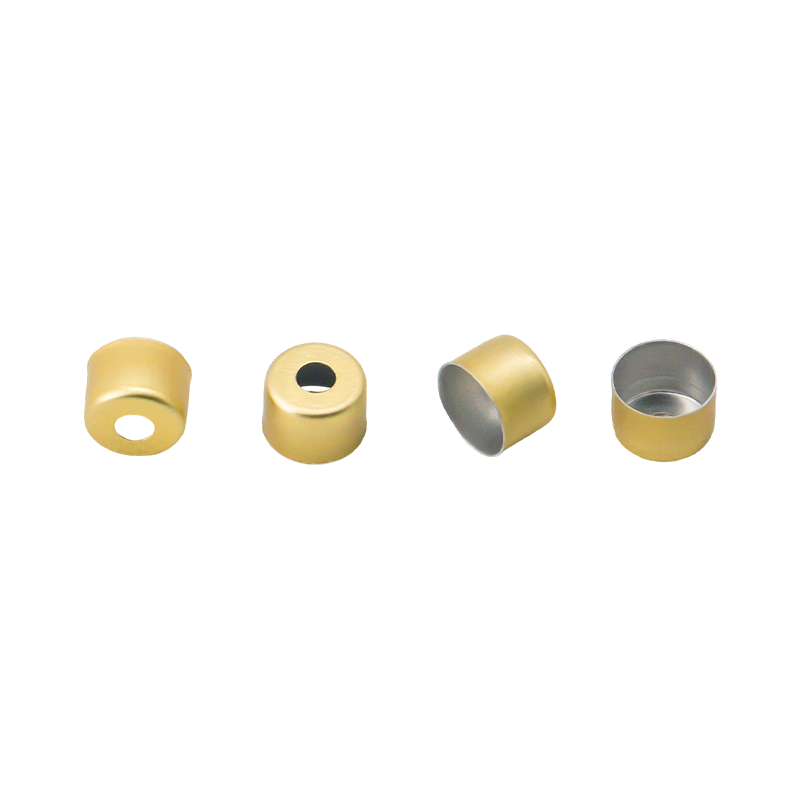
A precision sealing solution designed for cartridge-based drug delivery systems, such as pre-filled syringes and pen injectors. It ensures sterile integrity and safe, reliable needle access for inject...
View More
-
Get In Touch
 +86 511 8813 2922
 +86 139 5290 2286
 lilian@changjianglids.com
 No. 1 Mingzhu Road, Youfang Industrial Park, Yangzhong City, Zhenjiang, Jiangsu, China
The information provided on this website is intended for use only in countries and jurisdictions outside of the People's Republic of China.
-
Product
Aluminum-Plastic Caps Aluminum Caps Euro PP Caps PP Containers for Contact Lens with Foil Seal Plastic Hanger for Infusion Bottle Plastic Jerry Can -
WhatsApp
Chris

-
WeChat
Lilian

Copyright © 2025 Jiangsu Changjiang Lids Co., Ltd. All Rights Reserved.
OEM Pharmaceutical Packaging Manufacturer
Pharmaceutical Cap Supplier
