
 English
 русский
 简体中文



Home / News / Industry News / Induction Liner Guide: How Foil Seals Form, Fail, and Match Bottle Caps
Induction Liner Guide: How Foil Seals Form, Fail, and Match Bottle Caps
2026.10.09
Content
- 1 What an Induction Liner Is, Layer by Layer
- 2 How the Seal Forms on the Line
- 3 When an Induction Liner Is the Right Answer, and When It Is Not
- 4 Five Failure Modes You Will See on a Real Line
- 5 Writing a Specification You Can Inspect Against
- 6 Where Liners Meet Pharmaceutical Closures
- 7 Matching Liner, Cap, and Capping Machine
A filled bottle of oral suspension comes off the line, the cap is twisted off by a customer, and the foil disc stays stuck inside the cap instead of on the bottle rim. There is no seal, no tamper evidence, and the batch goes on hold. Almost every time this happens, the liner alone is not the whole story.
The conclusion first: an induction liner is a heat activated seal, and it performs only when three things line up. The liner construction has to match the container material, the induction sealer has to be tuned to that exact cap and bottle, and the bottle rim has to be clean and reachable by the foil. Miss one of the three and no amount of liner shopping will save the batch.
What an Induction Liner Is, Layer by Layer
An induction liner is a small sandwich of materials rather than a plain disc of foil. From the cap side to the product side, a typical construction has four parts.
- Backing. Pulpboard, foam, or PET, which seats the liner in the cap and presses the foil flat against the rim.
- Release layer. A wax or polymer film that lets the foil separate from the backing when the cap is opened.
- Foil. A thin aluminum layer, commonly 15 to 25 microns, which is the heating element rather than the seal.
- Sealant. A polymer coating facing the container, selected to bond to PP, PE, PET, or glass.
Treating the liner as a commodity is the first mistake. Sealants are material specific. A coating designed for polyethylene will not build the same bond on glass, and a liner that seals cleanly on a heavy walled bottle can scorch a thin walled one.
How the Seal Forms on the Line
The process has six steps, and every one of them can be set wrong.
- The cap, with the liner resting inside it, is screwed onto the filled container.
- The container passes under an induction sealing coil.
- Alternating current in the coil creates a rapidly changing magnetic field.
- The field induces eddy currents in the foil, heating it in a fraction of a second.
- Heat conducts into the sealant, which melts and wets the container rim.
- The container leaves the coil, the foil cools, and the sealant solidifies into a bond.
Notice what the process does not use. There is no adhesive and no contact with a hot tool, because the bond is generated inside the cap. That is why power, line speed, coil distance and centering, cap torque, and rim condition decide the result. Product splashed onto the rim during filling is a seal killer.
When an Induction Liner Is the Right Answer, and When It Is Not
Induction liners earn their place on screw cap bottles that hold liquids, where the end user opens the closure and a visible foil seal proves the package was untouched. They are the wrong answer wherever a closure has to hold a sterile barrier or contain pressure, because a foil disc bonded to a rim is not a sterile seal.
| Container and product | Common sealing method | Induction liner |
|---|---|---|
| Oral liquid syrup or suspension in PP or glass bottles | Screw cap with induction liner | Yes |
| OTC and nutraceutical liquid bottles | Screw cap with induction liner | Yes |
| Sterile injectable vials | Rubber stopper held by a crimped aluminum cap | No |
| Infusion and IV bottles | Rubber stopper held by an aluminum or aluminum plastic cap | No |
| Contact lens cups | Foil lid heat sealed to the PP cup | No, this is conduction lidding |
Two rows deserve a note. On a sterile vial, the rubber stopper is the barrier and the aluminum cap holds it in compression, so nothing is bonded to the glass rim. On a contact lens cup, the foil lid is sealed by direct heat and pressure, which is conduction rather than induction.
For injectable lines that need a crimped closure rather than a bonded liner, aluminum tear off caps for injection vials are the common route.
 Aluminum Tear-Off Caps for Injectable VialsTamper-evident 13 mm and 20 mm aluminum seals with pre-scored tear-off lines, giving injectable vial lines complete removal and stopper access.View Product →
Five Failure Modes You Will See on a Real Line
- Channel leaks. A thin path of product or air crosses the seal, usually because the rim carried residue.
- Liner stuck in the cap. The bond to the container was weaker than the release from the backing, typical of a weak seal.
- Weak or off center seal. Low power, high line speed, or a coil that is not centered over the cap.
- Burned or blistered foil. Too much power or too slow a line, which degrades the sealant and fails later in the warehouse.
- Deformed or cracked neck. Thin walled PP bottles warp when the sealing window is pushed too far.
Two of these look identical at the end of the line. A channel leak and a weak seal both leave a loose cap and a foil disc that peels easily, but the causes and the corrections are opposite. Cut a failed bottle open and read the bond pattern before touching the power setting.
Writing a Specification You Can Inspect Against
A liner specification that lists only aluminum foil seal is unusable on the receiving dock. At minimum, pin down the following.
- Foil thickness and temper, with an acceptable range.
- Sealant chemistry and the container materials it is approved for.
- Backing type and thickness, which decides how the liner behaves in the cap feeder.
- Liner diameter and tolerances, tied to the cap inner diameter and the bottle neck finish.
- Seal strength target, measured on the actual bottle after a defined cooling time.
- Recommended application torque, storage conditions, and shelf life before use.
Then test on the real package. A liner that seals perfectly on a lab bottle can fail on a production bottle with a different neck finish, cap, or capping torque.
Where Liners Meet Pharmaceutical Closures
Most pharmaceutical bottles are closed with a metal or plastic cap, and the liner is only one part of that system. The cap sets the torque, the compression, and the tamper evidence the patient sees first.
Oral liquid bottles
Syrups, suspensions, and other oral liquids normally use a screw cap with a bonded seal. Aluminum screw caps for oral liquid bottles are widely chosen where the closure has to survive repeated opening and still be easy for an older patient to turn.
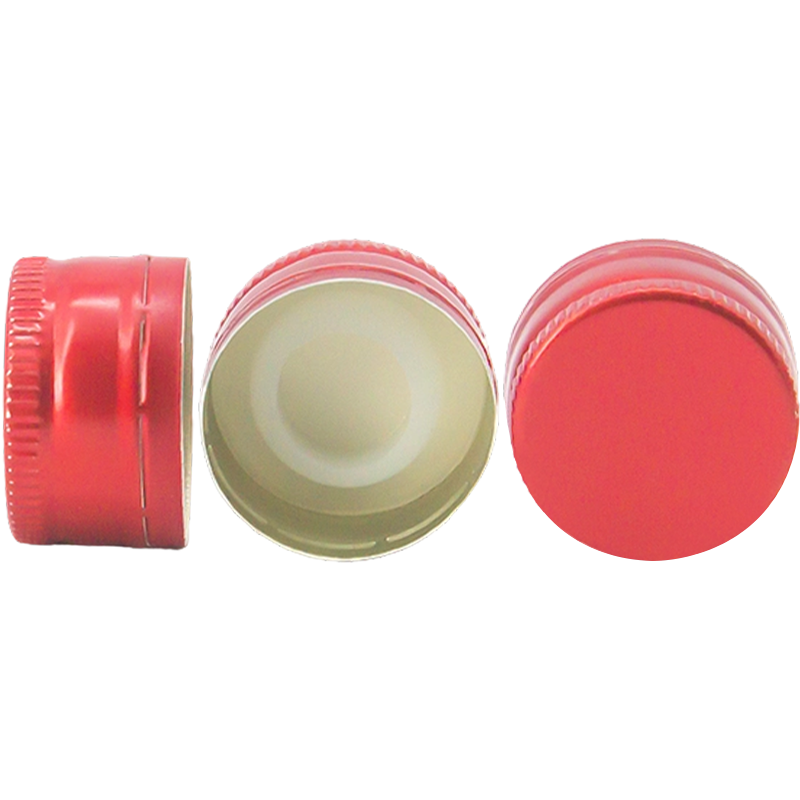 Aluminum Screw Caps for Oral Liquid BottlesResealable tamper-evident aluminum closures in 15 mm, 25 mm, and 28 mm sizes for syrups, suspensions, and drops requiring repeated opening.View Product →
Infusion and sterile containers
Infusion bottles and sterile vials take a different route. Here the closure holds a rubber stopper under compression while the metal shell provides the crimp and the opening feature. Aluminum pull ring caps for infusion bottles combine the crimp, the seal, and a ring pull a nurse can open without tools.
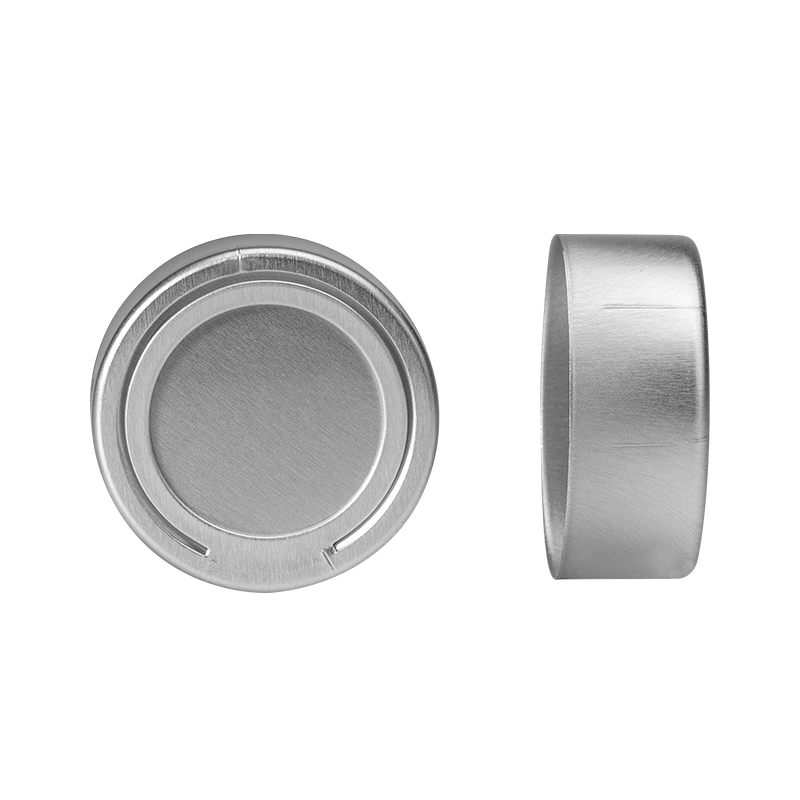 Aluminum Pull-Ring Caps for Infusion BottlesTool-free 26 mm and 32 mm aluminum seals with integrated pull rings for complete cap removal and sterile spike access on infusion bottles.View Product →
If you are still mapping closure types against bottle finishes, this overview of aluminum caps for pharmaceutical vials covers pull ring, tear off, bridge, and middle hole designs side by side.
Matching Liner, Cap, and Capping Machine
The three parts have to be selected together, because they interact. A deep cap with a firm backing presses a liner differently from a shallow cap with foam backing, and a slipping clutch on the capping head applies a different torque to the first bottle of a run than to the five hundredth. Steps that prevent most seal failures:
- Set the sealer with the actual cap and bottle, not a sample of a similar size.
- Establish a power and speed window rather than a single point, then run in the middle of it.
- Check torque at the start, middle, and end of each shift.
- Keep sealed samples from every batch and cut a few open after 24 hours.
- Re check seals after transport simulation, because vibration finds weak bonds.
A liner is a small part with a narrow job. It bonds to the rim, proves the package was closed, and lets the patient open it once. It cannot compensate for the wrong closure, a dirty rim, or a sealer running outside its window. Decide first whether the product needs a bonded foil seal or a compressed rubber barrier, then choose the cap and liner as one package, then validate the three together on the line.
If you are weighing a bonded liner against a crimped closure for a specific bottle and fill, send us the container drawing and filling details and we can work through the combination with you.
Related products
-
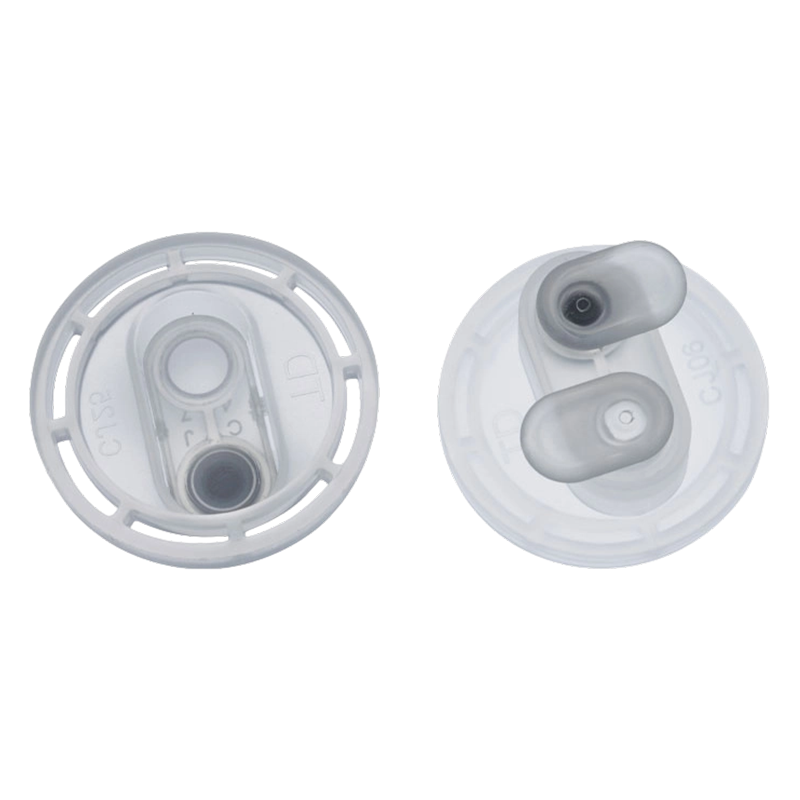
A standardized dual-port polypropylene cap designed for infusion and solution bottles. This integrated solution ensures reliable closure and provides two distinct, self-sealing access points for safe ...
View More -
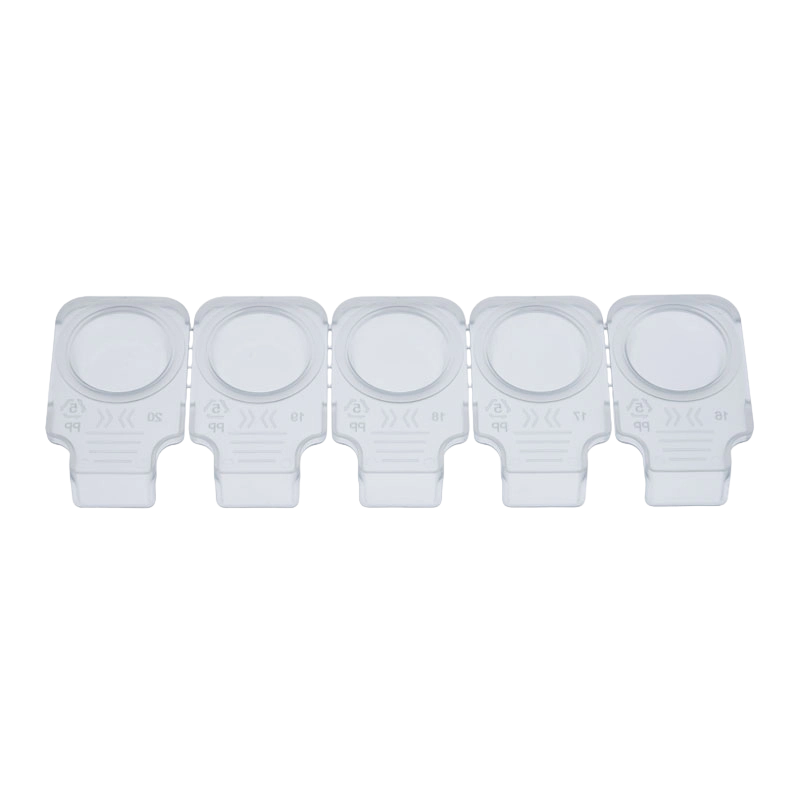
A protective and sterile packaging solution designed for contact lens storage. The polypropylene (PP) container with an integrated foil seal ensures product integrity, moisture retention, and contamin...
View More -
A protective and sterile packaging solution designed for contact lens storage. The polypropylene (PP) container with an integrated foil seal ensures product integrity, moisture retention, and contamin...
View More -

A secure and low-profile support solution designed to safely hold infusion containers in clinical and care settings. Its flat design ensures stable wall-mounted suspension and easy access for intraven...
View More -

A secure and ergonomic support solution designed to safely hold infusion containers in clinical and care settings. Its racket design with an integrated handle ensures stable, portable suspension and e...
View More -
A standardized pull-ring polypropylene cap designed for infusion and solution bottles. This tamper-evident solution ensures reliable closure and provides an integrated pull-ring for safe, tool-free ac...
View More
-
Get In Touch
 +86 511 8813 2922
 +86 139 5290 2286
 lilian@changjianglids.com
 No. 1 Mingzhu Road, Youfang Industrial Park, Yangzhong City, Zhenjiang, Jiangsu, China
The information provided on this website is intended for use only in countries and jurisdictions outside of the People's Republic of China.
-
Product
Aluminum-Plastic Caps Aluminum Caps Euro PP Caps PP Containers for Contact Lens with Foil Seal Plastic Hanger for Infusion Bottle Plastic Jerry Can -
WhatsApp
Chris

-
WeChat
Lilian

Copyright © 2025 Jiangsu Changjiang Lids Co., Ltd. All Rights Reserved.
OEM Pharmaceutical Packaging Manufacturer
Pharmaceutical Cap Supplier
